
Premise:
I’ve never made anything large with tatting. I tend to prefer smaller pieces, and I wasn’t sure I had the patience to finish a purely decorative lace project. So I challenged myself to try a pattern that would be easier to work through.
I found the Tat-a-Renda Tat-Along Doily pattern, which seemed like a good fit.
I also shared my progress on Craftree.
In the end, I was able to finish the project, and I’m quite proud of it. Now I just need to find a large enough frame—but that’s another story.
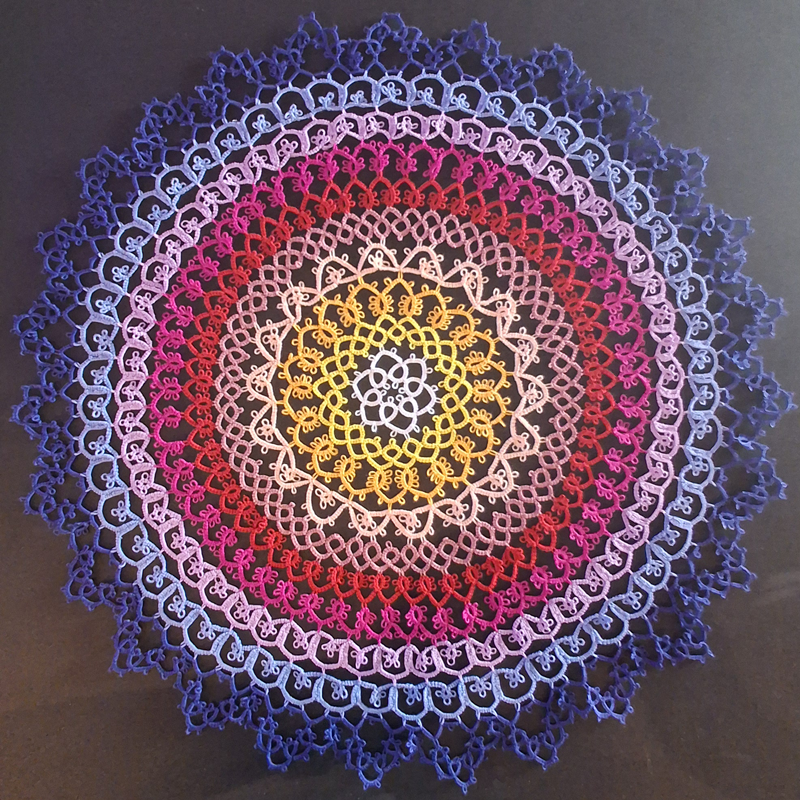
For the colors, I wanted to use what I already had. It took quite a bit of planning to decide on the order.
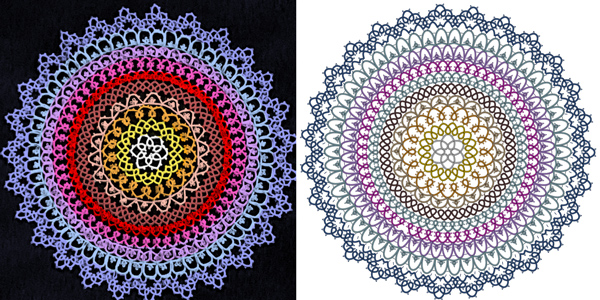
I looked at finished pieces online and edited the colors to preview combinations. I also recreated parts of the design in TattingCAD to test how the colors would work together.
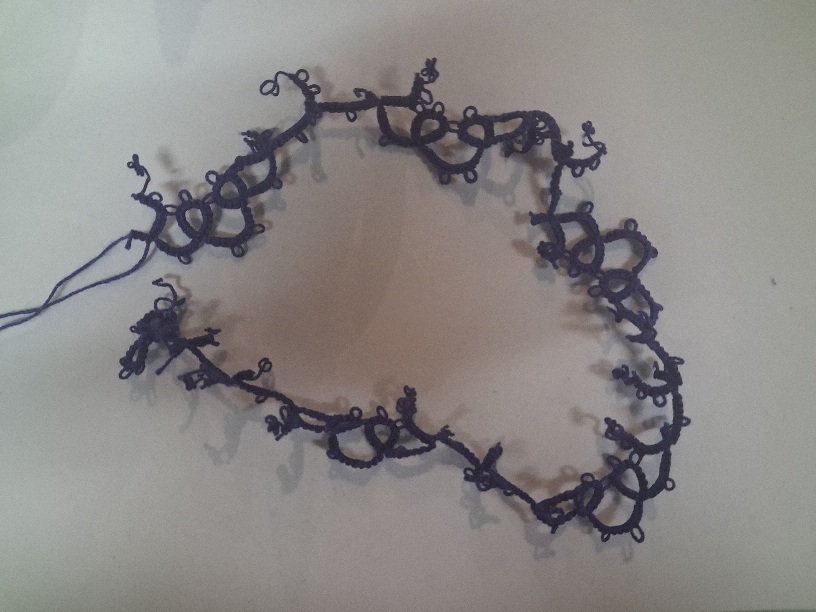
The project didn’t quite go as planned. I had to cut and redo a pretty large part of the last row, and there’s still one mistake I chose to leave as is. Here’s a slow and slightly sad lament for the time lost:
And here is one more picture, with a different background – because why not?

This is a personal tatting doily project using the Tat-a-Renda pattern and planned with TattingCAD.